Webmaster Tools Verification in Yoast SEO Plugin
In this article, we are going to guide you on how to verify Webmaster Tools in the Yoast SEO plugin. The verifying process takes an equivalent way anyhow of the webmaster tools you choose. For example, we will reveal how to verify Google Search Console through the Yoast SEO plugin. Get a guide on How to use Yoast SEO in WordPress.
First of all, be confident you have a Google Search Console account. Else, sign up for an account. Once you’re done, add your WordPress site to the Google Search Console account. Also, get a guide on how to do the setting of Yoast Tools and Yoast Social.
To do so, follow the way below:
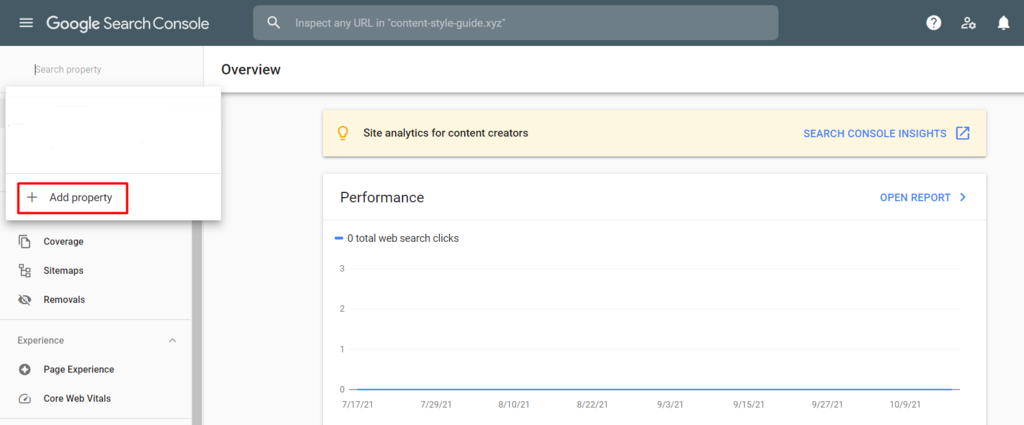
- Go to your Google Search Console dashboard and steer to the dropdown menu on the left sidebar. Also, click on the Add Property switch.
- Select your property type. From the two options available, we suggest choosing the Domain option as it grants access to a complete overview of your site, from the protocols to subdomains. Still, if you want to include only one specific URL, choose the URL prefix.

- In this case, we’re going to choose the Sphere option. Clicking on the Continue button will unlock the verification page. Go ahead and click Verify. Get Guide to the Best SEO Practices Using Yoast SEO Plugin.
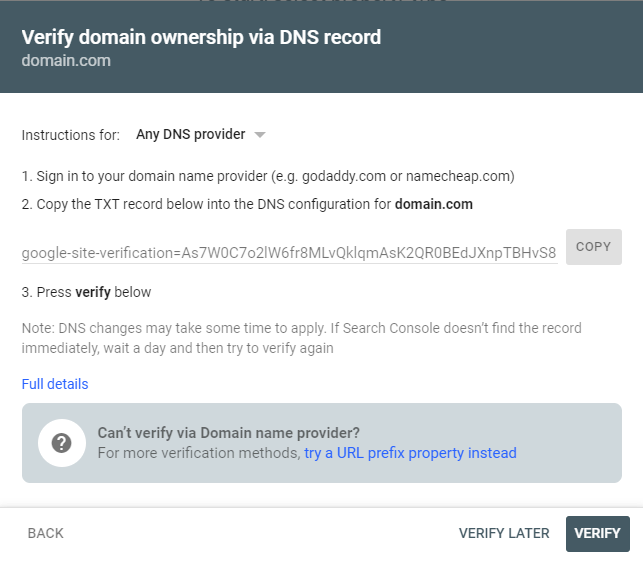
- Copy the handed TXT record and add it into the DNS Zone Editor of your hosting provider. Also, go back to the verification page, and click Verify.
Verification of Webmaster Tools in Yoast SEO Plugin
Once you have successfully added a new property to your account, verify it in the Yoast SEO settings.
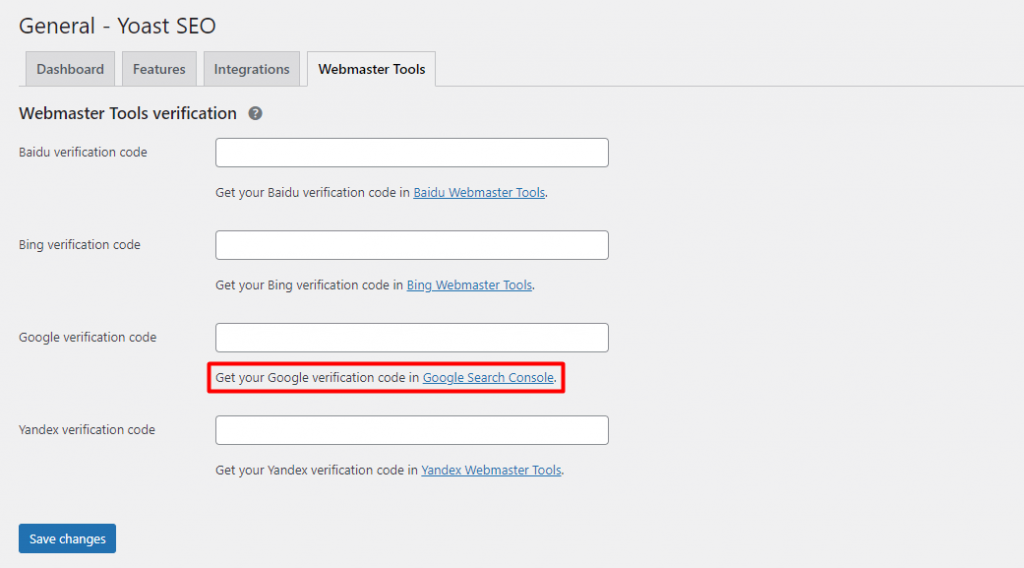
- Navigate to the WordPress dashboard and open SEO-> General-> Webmaster Tools. Do click the link under the Google Search Console field.
- This should take you to the Webmaster Central page, where you can choose one of the ways to verify your domain.
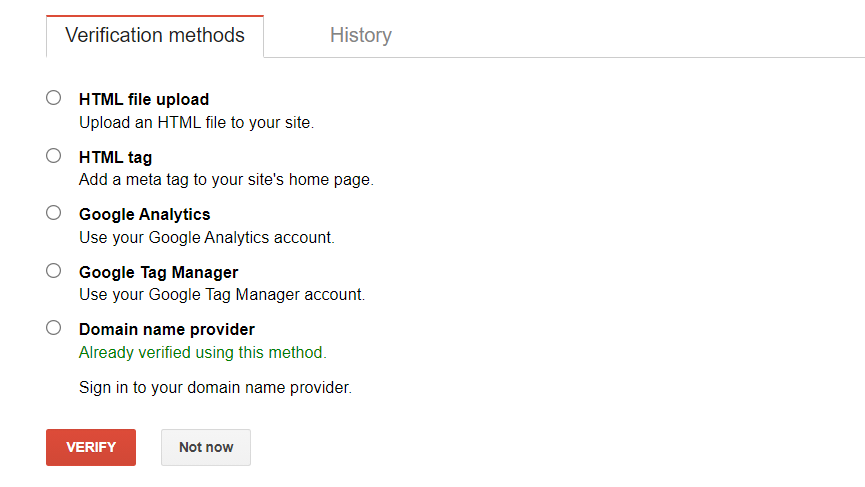
- Click the HTML label option to get the authorization law, and paste it into the Yoast SEO dashboard.

- Copy the metadata and paste it in the Webmaster Tools tab.

- Eventually, click the Save changes button to complete the verification process.

That’s all. The guide is completed. So, We hope you understand the article and guide. Also, see the Guide for Search Appearance Settings in Yoast SEO and the guide on How to Optimize On-Page SEO in Yoast SEO.