In this guide, we tell you how to set up Search Appearance settings in the Yoast SEO plugin. Search appearance directs to the way of revealing your website in the search results pages. Although this setting is included in the configuration wizard, there’s also a devoted tab to modify this setting. Do you know What is Yoast SEO and how to use it on WordPress? If not then go to How to use Yoast SEO on WordPress.
Also, there are multiple tabs to customize. For example, one tab allows you to modify SEO titles and meta descriptions with colorful snippet variables.
For further details, we will walk you through different tabs available in the Search Appearance settings section.
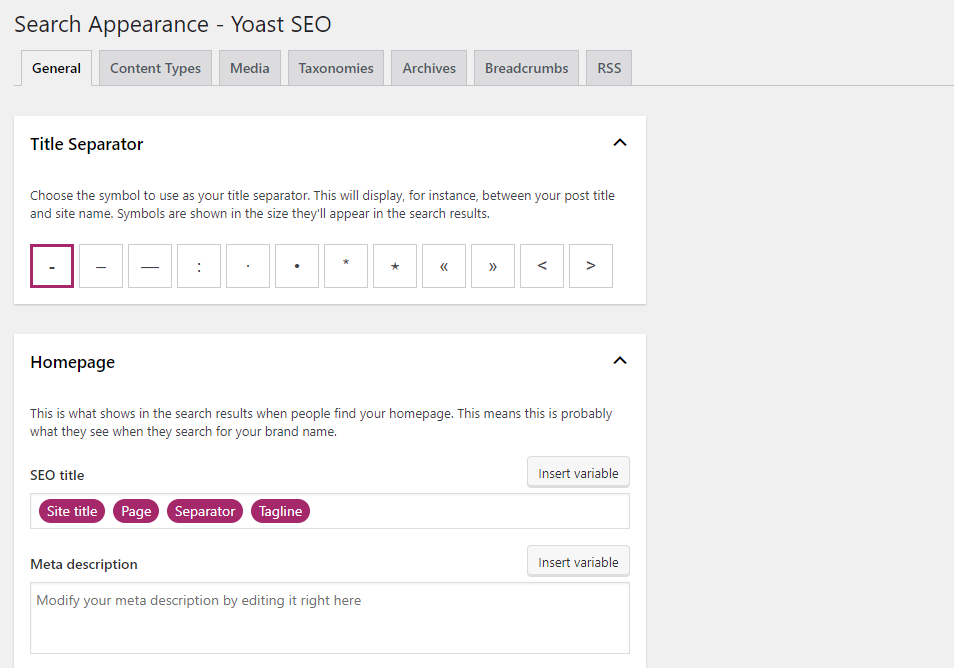
- General. This tab includes the introductory settings at the configuration wizard, from the title division to meta description. You can also add further information for Google’s Knowledge Graph.
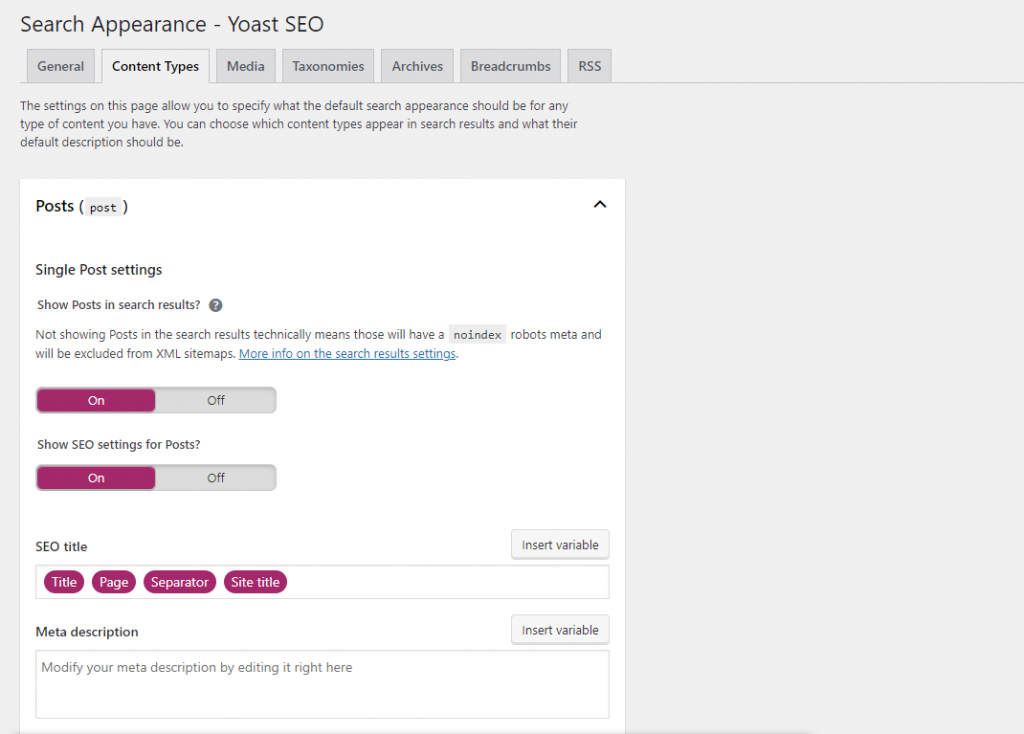
- Content Types. The Yoast settings on this area help define which content types to show in the search results along with their default descriptions. By dereliction, Yoast SEO displays pages with the webpage schema and posts with the article schema. Still, you can change these dereliction settings as you need.
Search Appearance – Yoast SEO
- Media. We recommend keeping the dereliction settings. Doing so will allow Google to deflect visitors to your website posts whenever they click on the media attachments.

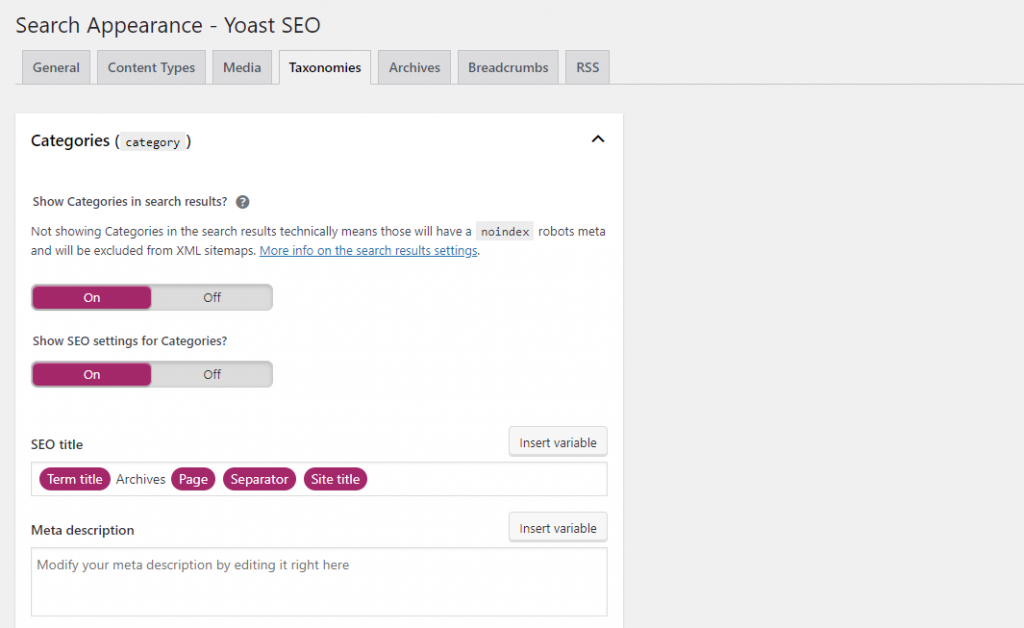
- WordPress Taxonomies. This section helps customize the title and meta description template for your post orders and tags. Therefore, making it easier for Google to show your posts whenever users have a specific search intent.
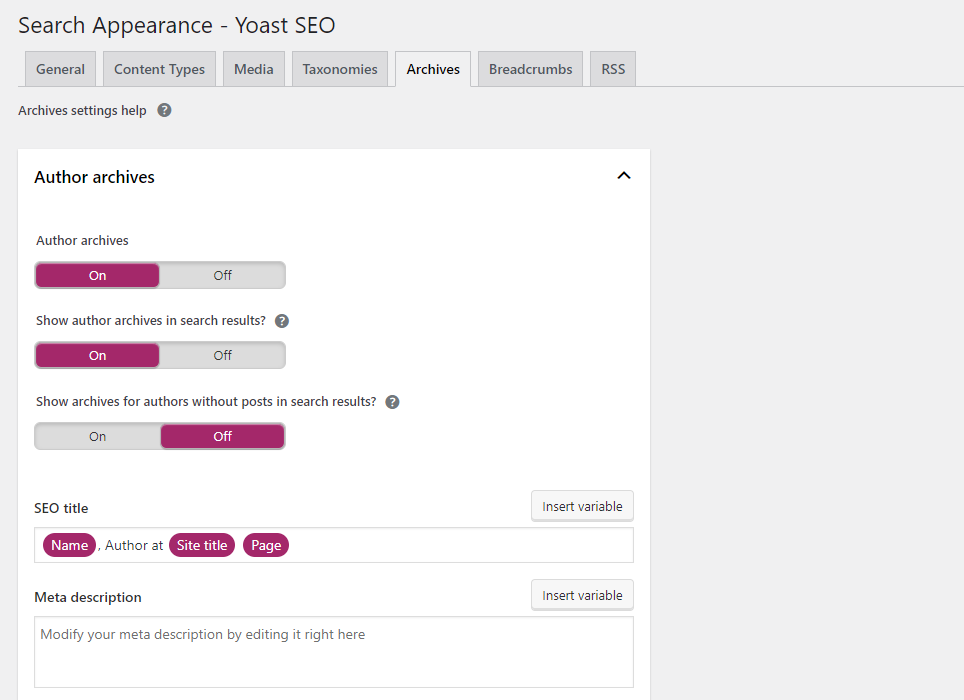
- Archives. Specify how different types of archives are handled. We advise turning off the author libraries for a single-person website, as cranking it might affect indistinguishable content. Again, feel free to turn on and customize the settings if you have multiple authors.
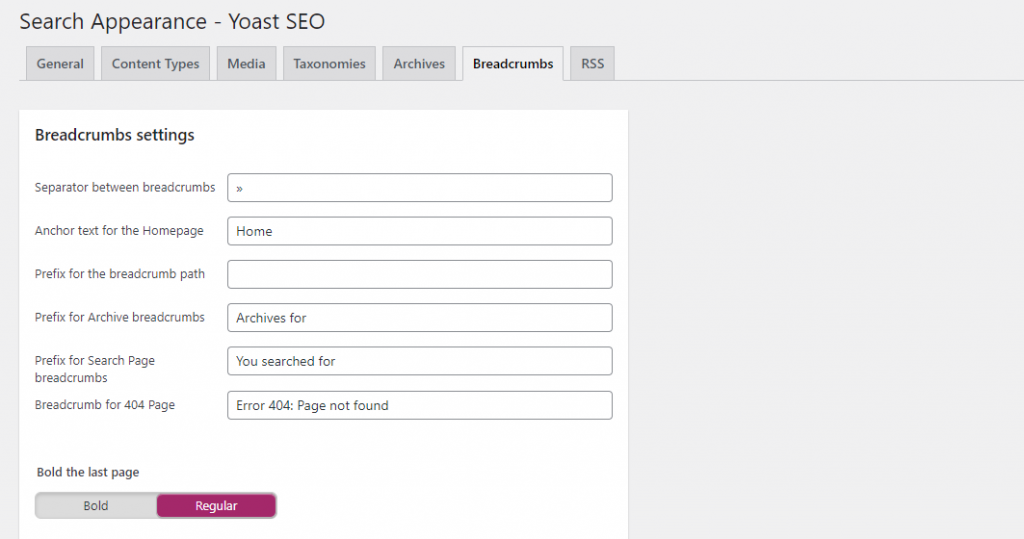
- Breadcrumbs. Enabling this setting makes it more comfortable for your visitors to understand your site structure. Also, breadcrumbs also help search engines dawdlers when indexing your website. To enable breadcrumbs via Yoast SEO settings, simply click the button to Enabled.
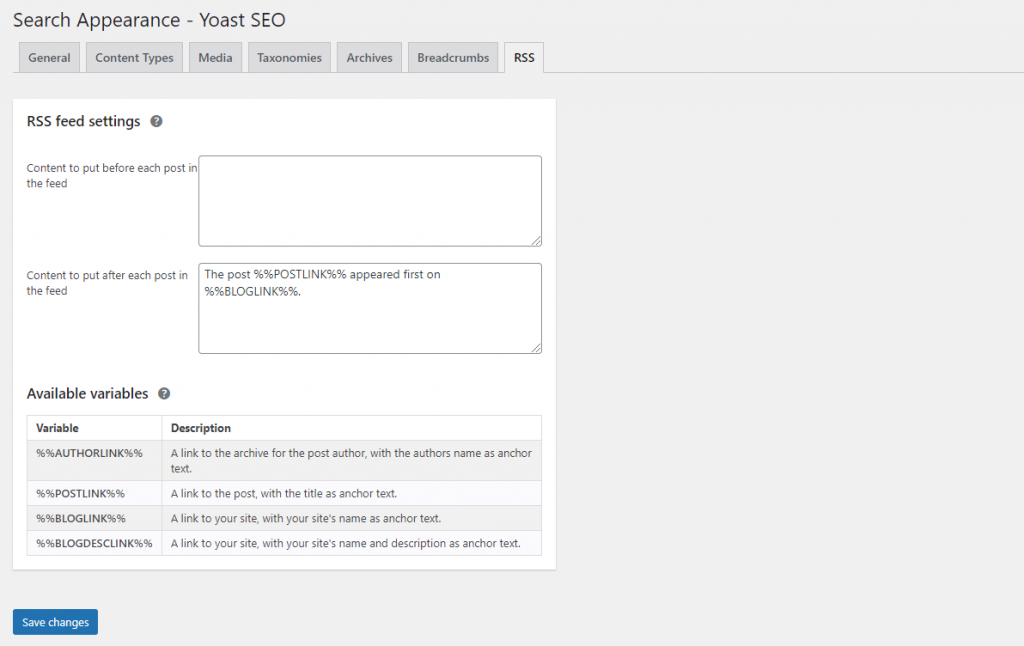
RSS. These settings help your content from editing without credits and warrants. The RSS feed will add a piece of content underneath that will link back to your site whenever your blog post is edited. There are numerous variables general to select from.
How to attach an XML Sitemap to Yoast SEO
An XML sitemap plays a vital part in optimizing your website’s SEO. This train lists all of your important pages and acts as a map to help search engines understand your site structure more. XML sitemaps help search engines understand the details of your web pages and pick which ones are the most important. Thus, helping web crawlers find applicable to content on your website fluently.
To produce a WordPress sitemap with Yoast SEO, access your WordPress dashboard and go to SEO-> General. Navigate to the Features tab and scroll down to the XML Sitemaps section. Know how to verify webmaster tools in Yoast SEO Plugin.

Toggle the switch to On – and just like that, Yoast SEO will automatically induce an XML sitemap of your WordPress site. Now, click on the question mark symbol next to the same section to view the sitemap. Also, click on the stressed link.

XML Sitemap
With the Yoast plugin, not only can you generate an XML sitemap but also decide what to include or count within the file. For example, to count certain content types from the sitemaps, simply toggle a button in the Yoast dashboard. To do so, go back to the Hunt Appearance menu and choose Content Types. Specify which content to count from the sitemap, and switch the button to Off. Get Guide to the Best SEO Practices Using Yoast SEO Plugin.

Once you have the sitemap file in hand, the coming step is to validate it using a sitemap validator. Doing this will ensure that your sitemap is structured rightly. Start by inputting your domain name in the handed field and click Validate Sitemap.
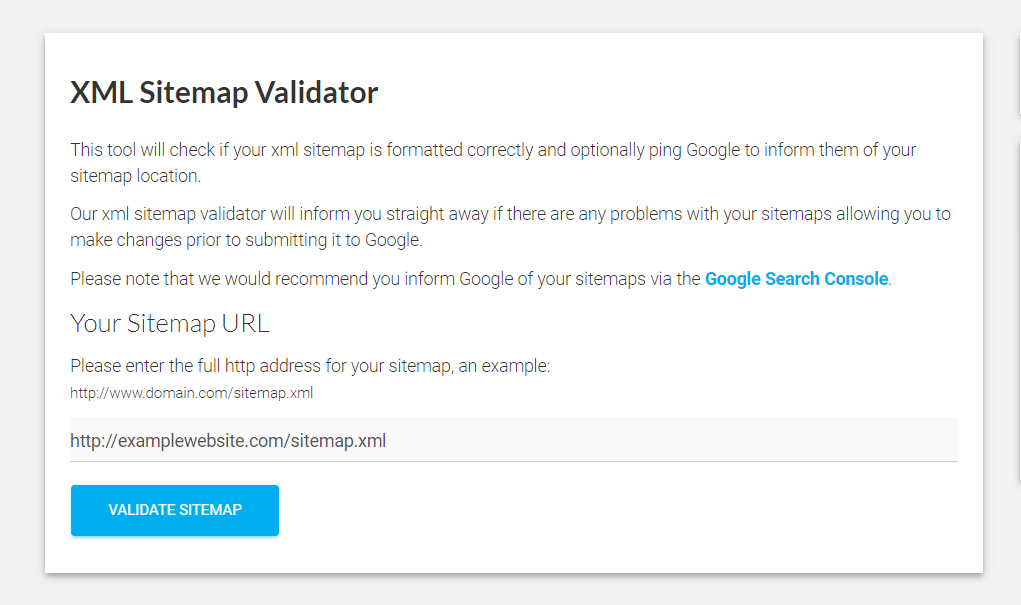
Still, the following screen will appear, If your sitemap is valid.

Now, the coming step is to submit it to search engines. So, follow the instructions below to do it on Google
- Log in to your Google Search Console dashboard.
- In the sidebar, choose your website.

- Scroll down to the Sitemaps menu.
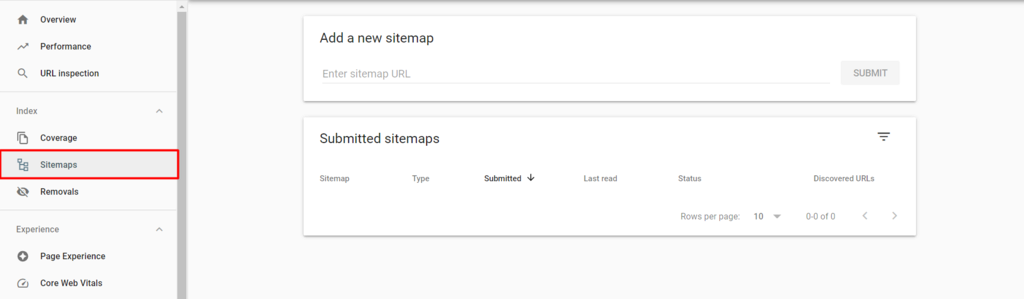
- Enter your sitemap URL in the handed field and click Submit.
To check the status, go to Sitemaps-> Submitted sitemaps. Google Search Console will show the status and give feedback on optimizing your site grounded on their attestation.
Our guide ended. So, now if you further want to know about Yoast tools and social settings and On-page SEO then visit our guide on Yoast Tools and Social Settings in WordPress. And, a guide on How to Optimize On-Page SEO in Yoast SEO.