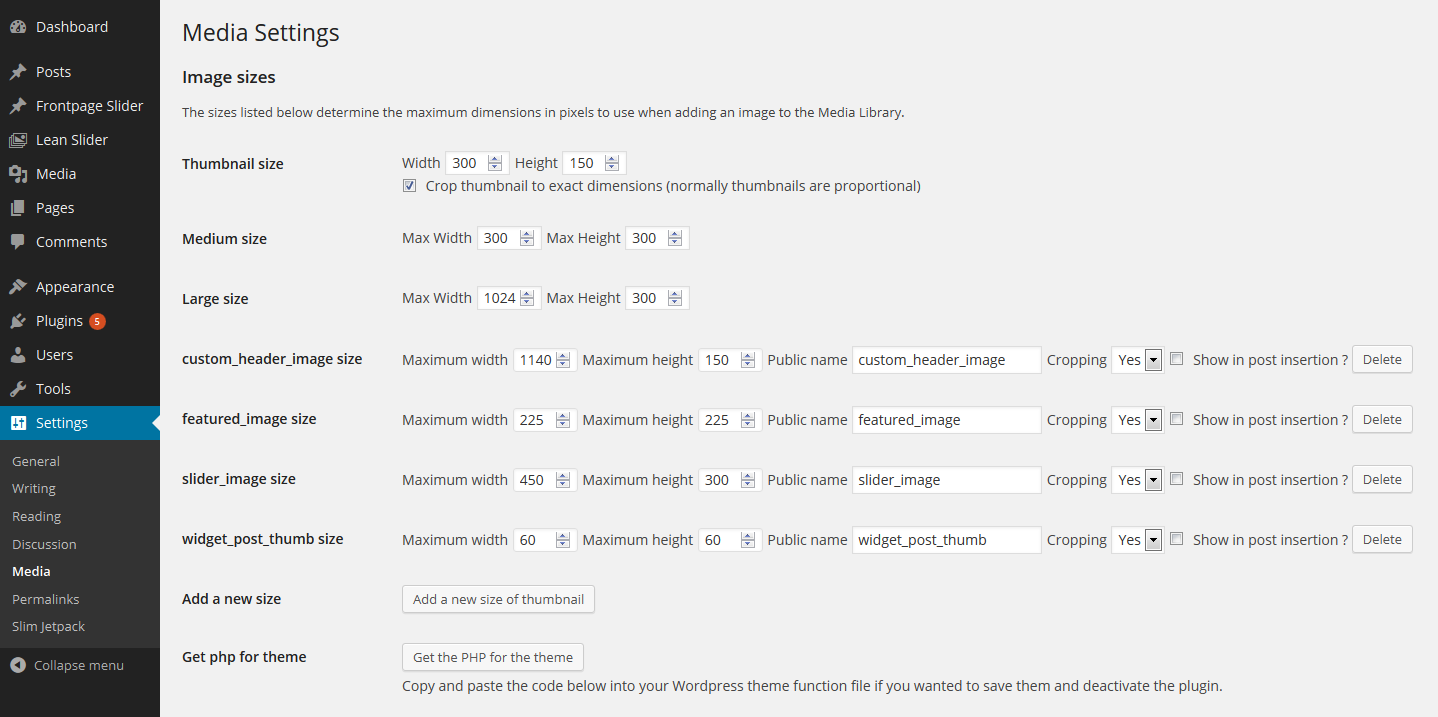
Its a Little but useful tutorial after this you can able to define your own sizes for different thumbs that can b used on different locations, like in the sidebar when someone wishes to call recent posts with title excerpt and a thumb, it is useful to call a small image because it takes less time to load than a full image. you can call a full image and by defining the width and height in the “IMG” attribute you can make it according to the size that you need, but as I said earlier it takes time to load so it is better to register your own sizes before making any posts in the WordPress.
so first of all you open your functions.php file and place the code
if ( function_exists( 'add_theme_support' ) ) {
add_theme_support( 'post-thumbnails' );
set_post_thumbnail_size( 150, 150 );
}
the above code for the default post thumnail size which is 150 and 150, its your choice to use the above full code or you may also use the single line i.s
add_theme_support( 'post-thumbnails' );it will also do the same thing activate the feature posts in the add new page or posts section and set the default value of the thumbnail to 150 150.
so if someone wants to register different sizes then should use the following function.
if ( function_exists( 'add_image_size' ) ) {
add_image_size( 'sidebar-thumb', 60, 60, true );
}
It will add the thumbnail size of 60 and 60 dimensions. the first part is the name that will use when you call the thumbnail and next to it the dimension, width and height respectively. you can register how many IMG sizes you want.
hope you learn from it.